

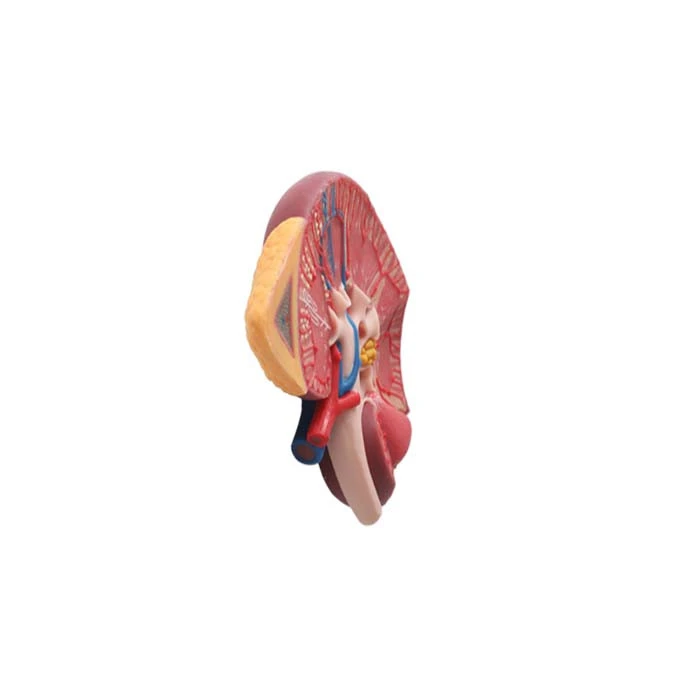
Hey there! I'm a supplier of silicone models, and today I'm stoked to share with you the ins and outs of making a silicone model with a pearlescent finish. It's a super cool process that can take your models to the next level, whether you're into creating anatomical models like the ones we offer, such as the Male Reproductive Organ Model, Kidneys And Adrenal Glands Soft Silicone Anatomy Model, or Kidney Structure Model, or any other type of custom silicone models.

Getting Started: Materials and Tools
First things first, you'll need to gather all the materials and tools you'll need for this project. Here's a list of what you'll typically need:
- Silicone Rubber: There are different types of silicone rubber available, so make sure to choose one that suits your specific needs. For most general-purpose silicone models, a two-part silicone rubber is a great choice. It comes in a base and a catalyst that you'll need to mix together.
- Pearlescent Pigments: These are what will give your silicone model that beautiful, shimmery finish. You can find pearlescent pigments in a variety of colors, so you can choose the one that best matches your vision for the model.
- Mold Release Agent: This is essential to prevent the silicone from sticking to the mold. You can use a commercial mold release agent or make your own using a mixture of dish soap and water.
- Mixing Containers and Stir Sticks: You'll need clean containers to mix the silicone rubber and pigments, as well as stir sticks to ensure a thorough mix.
- Mold: Depending on what you're making, you'll need a mold to shape the silicone. You can either purchase a pre-made mold or create your own using materials like plaster or resin.
- Measuring Tools: Accurate measurements are crucial when mixing the silicone rubber and pigments, so make sure to have measuring cups and spoons on hand.
Preparing the Silicone and Pigments
Once you have all your materials ready, it's time to start preparing the silicone and pigments. Here's how you can do it:
- Measure the Silicone Rubber: Follow the instructions on the silicone rubber package to measure the correct amount of base and catalyst. It's important to measure accurately to ensure the silicone cures properly.
- Add the Pearlescent Pigments: Start by adding a small amount of pearlescent pigment to the silicone base. Use a stir stick to mix the pigment into the silicone thoroughly. You can gradually add more pigment until you achieve the desired color and level of pearlescence. Keep in mind that the color may appear slightly different once the silicone cures, so it's a good idea to test a small amount first.
- Mix the Silicone and Catalyst: Once you're happy with the color of the silicone, it's time to add the catalyst. Pour the catalyst into the container with the pigmented silicone base and stir vigorously for several minutes. Make sure to scrape the sides and bottom of the container to ensure a complete mix.
- Degas the Silicone: To remove any air bubbles that may have formed during the mixing process, you can use a vacuum chamber or simply let the silicone sit for a few minutes to allow the bubbles to rise to the surface and pop.
Pouring the Silicone into the Mold
Now that your silicone is ready, it's time to pour it into the mold. Here are the steps to follow:
- Prepare the Mold: Apply a thin layer of mold release agent to the inside of the mold. Make sure to cover all the surfaces evenly to prevent the silicone from sticking.
- Pour the Silicone: Slowly pour the mixed silicone into the mold, starting from one end and working your way to the other. Try to pour the silicone in a steady stream to avoid creating air bubbles. If you notice any air bubbles forming, you can use a toothpick or a small tool to pop them.
- Tap the Mold: Gently tap the mold on a hard surface to help any remaining air bubbles rise to the surface. You can also use a vibrating table or a small hammer to vibrate the mold slightly.
- Let the Silicone Cure: Once the silicone is poured into the mold, it's time to let it cure. The curing time will depend on the type of silicone rubber you're using, but it typically takes anywhere from a few hours to overnight. Make sure to follow the instructions on the silicone rubber package for the recommended curing time and temperature.
Removing the Silicone Model from the Mold
After the silicone has cured, it's time to remove the model from the mold. Here's how you can do it:
- Check the Curing: Before attempting to remove the model from the mold, make sure the silicone is fully cured. You can do this by gently pressing on the surface of the model. If it feels firm and doesn't leave an indentation, it's ready to be removed.
- Release the Mold: Carefully remove the mold from the model. If the model is sticking to the mold, you can use a small tool to gently pry it loose. Be careful not to damage the model in the process.
- Trim the Excess Silicone: Once the model is removed from the mold, you may notice some excess silicone around the edges. Use a sharp knife or scissors to trim the excess silicone and clean up the edges of the model.
Finishing Touches
Now that you have your silicone model with a pearlescent finish, you can add some finishing touches to make it look even better. Here are a few ideas:
- Sand the Model: If the surface of the model is rough or has any imperfections, you can sand it using fine-grit sandpaper to smooth it out.
- Apply a Clear Coat: To protect the pearlescent finish and give the model a more professional look, you can apply a clear coat of resin or varnish. Make sure to follow the instructions on the clear coat product for the best results.
- Add Details: Depending on the type of model you're making, you can add additional details using paint, markers, or other decorative materials. This can help bring the model to life and make it more realistic.
Troubleshooting
Even with the best preparation and execution, you may encounter some issues along the way. Here are some common problems and how to solve them:
- Air Bubbles: If you notice air bubbles in the silicone model, you can try using a vacuum chamber to remove them before the silicone cures. You can also try vibrating the mold or using a toothpick to pop the bubbles.
- Uneven Color or Pearlescence: If the color or pearlescence of the silicone model is uneven, it may be because the pigments were not mixed thoroughly. Make sure to stir the pigments into the silicone base for a longer period of time to ensure a more even distribution.
- Sticking to the Mold: If the silicone is sticking to the mold, it may be because you didn't apply enough mold release agent. Try applying a thicker layer of mold release agent or using a different type of mold release agent.
- Curing Issues: If the silicone doesn't cure properly, it may be because the ratio of base to catalyst was incorrect or the curing temperature was too low. Make sure to follow the instructions on the silicone rubber package carefully and ensure that the curing temperature is within the recommended range.
Conclusion
Making a silicone model with a pearlescent finish is a fun and rewarding process that allows you to create unique and eye-catching models. By following the steps outlined in this blog post and using the right materials and tools, you can achieve professional-looking results. Whether you're a hobbyist or a professional, creating silicone models with a pearlescent finish is a great way to showcase your creativity and skills.
If you're interested in purchasing high-quality silicone models or have any questions about the process, feel free to reach out to us. We're a leading supplier of silicone models, and we're always happy to help you with your custom silicone model needs. Whether you're looking for anatomical models like the Male Reproductive Organ Model, Kidneys And Adrenal Glands Soft Silicone Anatomy Model, or Kidney Structure Model, or any other type of custom silicone models, we've got you covered.
References
- Manufacturer's instructions for silicone rubber and pearlescent pigments
- Online resources and tutorials on silicone molding and pearlescent finishes


